Common Issues with Threaded Rods and How to Prevent Them
Threaded Rods A Comprehensive Guide to Selection, Installation, and Maintenance
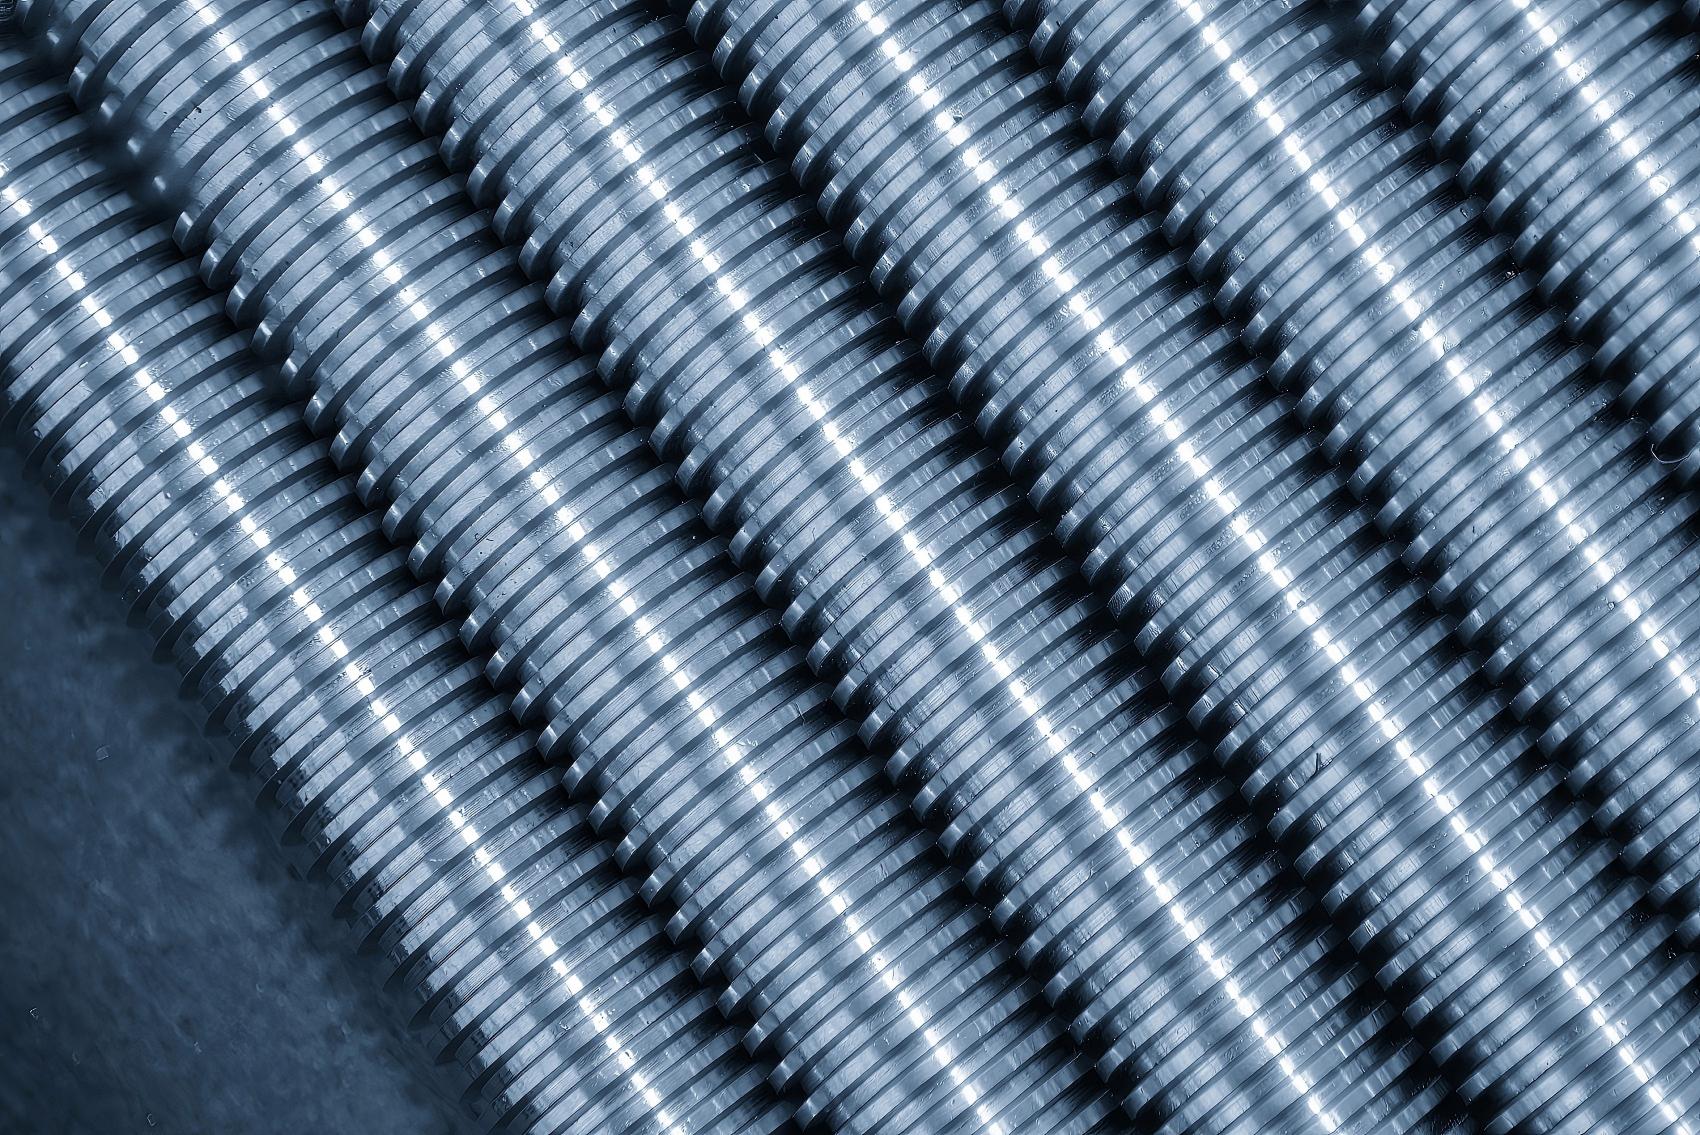
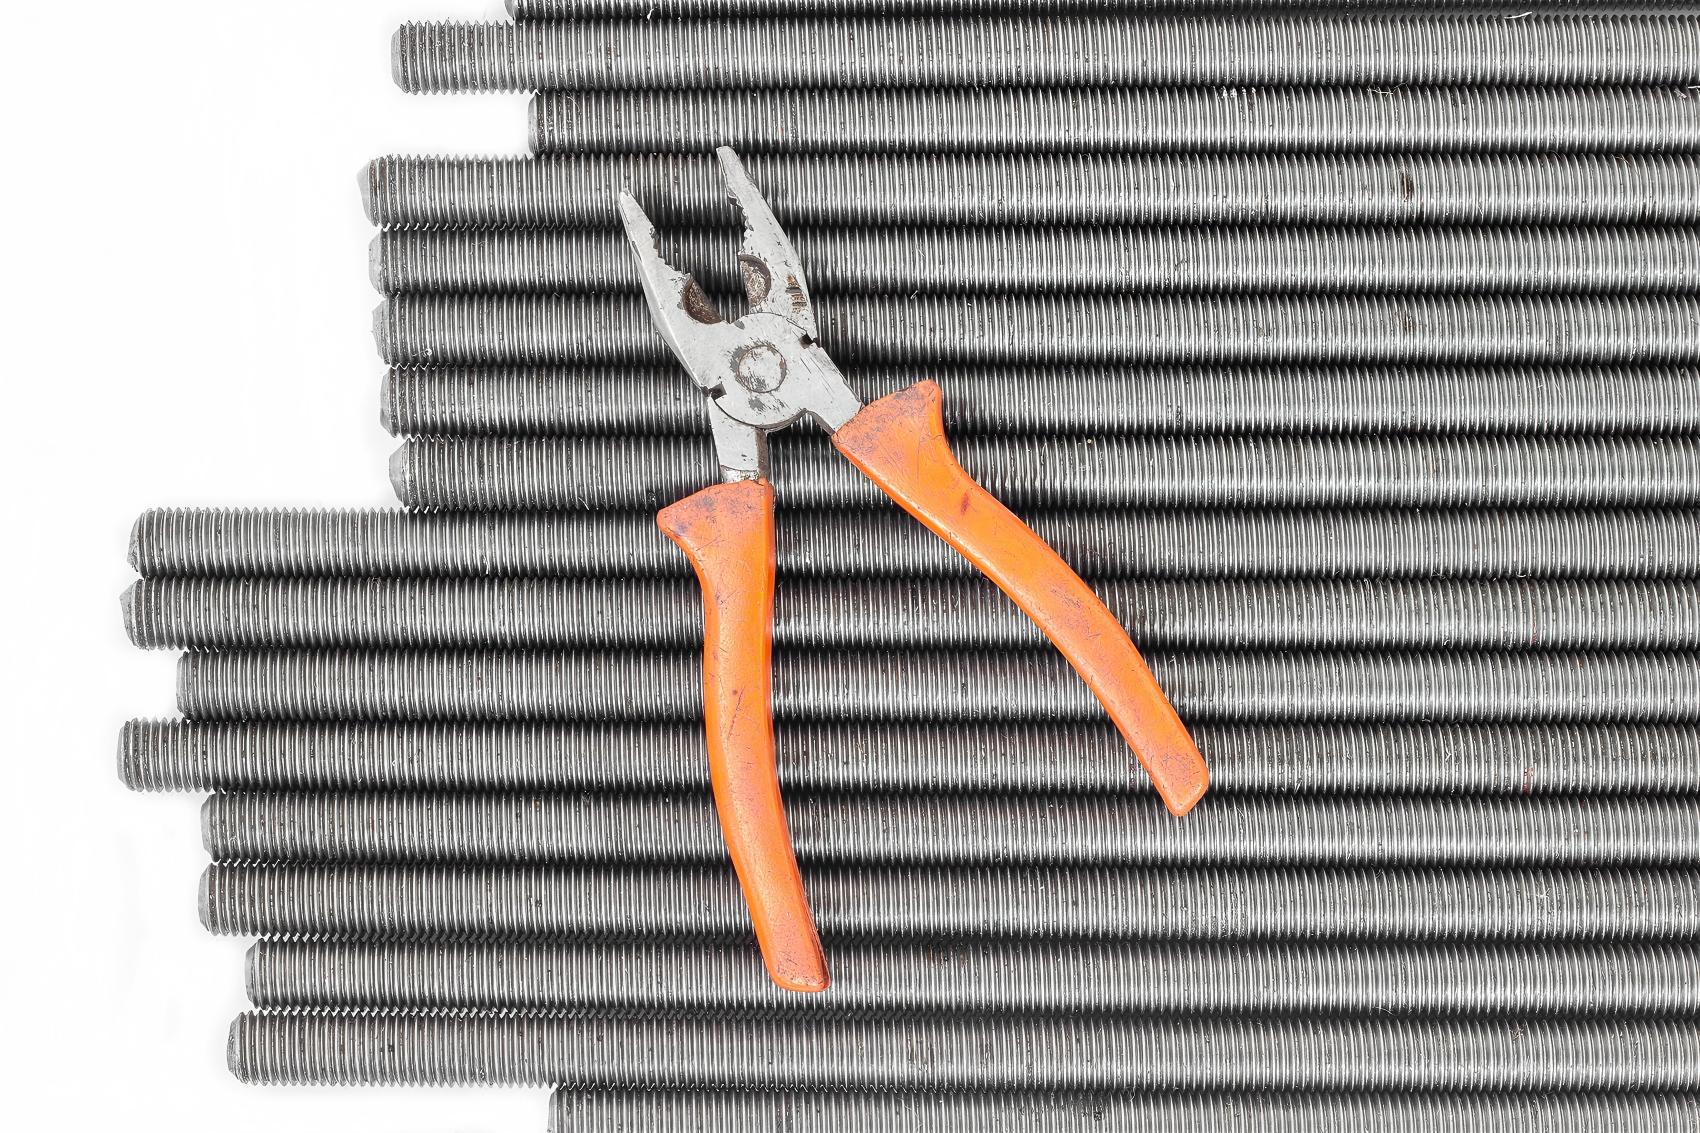
Threaded Rod Manufacturer, Threaded Rods Manufacturers in China
Introduction
Threaded rods are indispensable components across construction, manufacturing, and home improvement sectors. Understanding how to select, install, and maintain these versatile fasteners can significantly enhance project outcomes while reducing long-term costs. This guide provides actionable insights to help professionals and DIY enthusiasts maximize the potential of threaded rods.
Choosing the Right Threaded Rod
Material Selection
-
Carbon Steel: The most cost-effective option for indoor, low-corrosion environments. Ideal for temporary structures and general-purpose fastening.
-
Stainless Steel: Perfect for outdoor applications and projects exposed to moisture, chemicals, or extreme temperatures. Grade 304 offers excellent rust resistance, while Grade 316 provides superior protection in marine settings.
-
Alloy Steel: Engineered for high-stress applications, such as bridge construction and heavy machinery mounting. These rods deliver exceptional tensile strength without sacrificing durability.
Thread Type Considerations
-
UNC (Unified National Coarse): The industry standard for most construction projects, offering quick assembly and reliable holding power.
-
UNF (Unified National Fine): Preferred for applications requiring precise adjustments, such as automotive suspension systems and precision machinery.
-
Metric Threads: The global standard for international manufacturing, ensuring compatibility with imported components.
Step-by-Step Installation Guide
Pre-Installation Preparation
-
Measure Twice, Cut Once: Use a tape measure to determine the required rod length, then mark the cutting point with a permanent marker. For clean cuts, use a metal-cutting bandsaw or angle grinder with a metal-cutting disc.
-
Deburr the Edges: After cutting, use a file or deburring tool to remove sharp edges and burrs, preventing damage to nuts and washers during installation.
-
Select Compatible Hardware: Match the rod thread type with nuts, washers, and anchors. For concrete installations, use wedge anchors or sleeve anchors rated for the rod's load capacity.
Installation Process
-
Drill Pilot Holes: For wood and concrete installations, drill pilot holes slightly smaller than the rod diameter to ensure a secure fit.
-
Insert the Rod: Carefully thread the rod into the pilot hole, using a wrench to tighten it until it is firmly seated. Avoid over-tightening, which can strip the threads or damage the mounting surface.
-
Secure with Washers and Nuts: Place a flat washer and lock washer onto the rod, then thread a nut onto the rod and tighten it to the manufacturer's recommended torque specification.
-
Verify Stability: Once installed, apply gentle pressure to the rod to ensure it is securely anchored. For heavy-load applications, conduct a load test to confirm the rod can support the intended weight.
Essential Maintenance Tips
Regular Inspection
-
Check for Corrosion: Inspect threaded rods quarterly for signs of rust or corrosion. For outdoor installations, consider applying a protective coating of zinc-rich paint to extend the rod's lifespan.
-
Tighten Loose Fasteners: Over time, vibrations and temperature fluctuations can cause nuts to loosen. Use a torque wrench to re-tighten nuts to the recommended torque at least once per year.
-
Replace Damaged Rods: If a rod is bent, cracked, or stripped, replace it immediately to prevent structural failure. For critical applications, consider upgrading to a higher-strength rod to enhance long-term reliability.
Lubrication Best Practices
-
Apply a thin layer of anti-seize lubricant to the threads before installation to prevent galling and make future disassembly easier.
-
For high-temperature applications, use a high-temperature lubricant to maintain thread integrity and reduce friction.
Advanced Applications and Pro Tips
Custom Fabrication
Threaded rods can be combined with angle brackets, turnbuckles, and other hardware to create custom support structures, such as:
-
Adjustable shelving systems for warehouses and retail stores
-
Tensioned cable railings for decks and staircases
-
Temporary bracing for construction sites
Load Calculation
To determine the maximum load capacity of a threaded rod, use the following formula:
Load Capacity (lbs) = Tensile Strength (psi) x Cross-Sectional Area (sq in)
Consult the manufacturer's specifications for the rod's tensile strength, and use a caliper to measure the rod's diameter accurately.
Conclusion
By mastering the selection, installation, and maintenance of threaded rods, professionals and DIY enthusiasts can unlock new possibilities for their projects. Whether you're building a small shelf or a large-scale construction project, these versatile fasteners offer a reliable, cost-effective solution for a wide range of applications. Implement the tips and techniques outlined in this guide to ensure your threaded rod installations are safe, durable, and built to last.

